Sunday, 15 April 2012

Almond chocolate chip cookies & striving for perfection


I am a perfectionist. I want to get everything I do exactly right and it annoys me if I can't do that. I'm the kind of person that gets furious about those tiny little mistakes I overlooked in an essay that cost me a good grade and spends hours working on the perfect birthday gift. As with most things in life, perfection is ambivalent. Perfection in looks, in academics or at work is a commonly talked-about subject. But I ave to ask myself: is perfection really that good? What does perfection mean?

If you type "perfect" or "perfection" into google, this is what you'll get: pictures of photoshopped models, smiling beautiqueens or blogs about "How to be perfect". Perfection means something unachievable, really. It means that you are spotless, faultless. But the real deal about perfection is this: it's what you see in something that makes it perfect! It's what you choose to see in a person, in your body, in life.


So all the time we're chasing a perfect body, the perfect score on that new video game, the perfect guy, whatever really, it's what is perfect to us that should matter. So I thought, in addition to sharing some new chocolate chip cookies that I'm still perfecting (haha, funny, aren't I?), I'd start a list of ten things that are perfect to me. If you have a hard time seeing the beauty in life, this is an exercise you should try, it always helps me if I feel down.

1. Achieving a goal you worked really hard for.
2. Paying someone a compliment and seeing them smile.
3. Diving into an cold lake and watching the green light underwater until you're out of air. And then breaking the water's surface and breathing in the clear air. Feeling alive.
4. Walking barefoot on grass for the first time after the winter.
5. Hugging your best friend and feeling safe and happy.
6. Chewy chocolate chip cookies.
7. Late summer barbecues, with the sun setting in the garden.
8. Glancing up and into someone's eyes and know you're both thinking the exact same thing.
9. Dancing and singing like nobody is watching.
10.Writing a song that expresses exactly what you feel. And then watching a group of 30 kids perform it. That's a real high point.

There, now I feel 50 times better than I did ten minutes ago, I swear to you!

Chop the yummy milk chocolate! 

Cream the 1 cup of white sugar, 3/4 cup of brown sugar and egg. 


Add one cup of flour, one cup of almond sticks and a cup of chopped chocolate.

Take a look at that yummy dough - I really had to hold back from eating all of this on the spot. Good thing I didn't - they were brilliant! And I used this awesome ice-cream scooper to make them completely round.


And then the wait until they were done - but it was SO worth the wait. They could have been slightly chewier a.k.a I should have taken them out earlier. But I will probably make them again soon. 
And here the beauties are: 


So - have your perfect day! 
Love, x

Monday, 9 April 2012

Paint jobs

One of my newest projects is painting. I love changing up the looks of accessories with just a dash of paint - like this bird feeder! I changed the colour from a very pale shade of yellow to this bright red. I love how it brings out the white and looks a little like a Swedish cabin house ...


It will need a few more coats of paint and some retouching with white to be perfect, but I'm already falling in love with this bird feeder. Another really fun painting project is personalising picture frames. I've painted and decorated a few on a maritime theme in a shade of off-white and glued some shells I found in Cornwall to the frame. I'm dying to make blue frames soon, but at the moment, I'm making a very special one in the same red the bird feeder is in.


Painting is such a tranquil and wonderful pastime. Applying the first coat of paint, waiting for it to dry and keep painting again. I can't wait until it's warm enough to paint outside in the sun!
What's more, these creative paint jobs are the perfect homemade gift ideas! Nothing like a lovely picture frame you painted and decorated yourself with a lovely picture of you and your best friend! Add a little bag of homemade cookies or a cake and you'll make their day!

So, get creative and inspired everyone! I'm getting back to painting now!

Love, x

Sunday, 8 April 2012

Creative joys of spring

Spring is finally coming around - birds singing and sun shining, just in time for Easter. Since school's officially over for me, I spend most of my free time catching up on my creative activities these days. Writing, painting, cooking an baking. So watch out for many exciting blog posts in the next couple of weeks! I have a few trips to the cinema planned out, as well as a heap of books to read and recipes to nail ...

First off, I want to share my favourite food with you: vegetarian curry. I try to use as many different vegetables as possible to make the curry nice and colourful and put interesting textures together. Many favourite combination so far has been: brokkoli, carrot, tomato, courgette and peas. Together, these four vegetables make the perfect blend of crunchy, soft, tangy, sweet and juicy flavour. Unless you happen to have butternut squash or sweet potatoes in your house, it doesn't get more perfect than that.


First things first: fry the spring onions in olive oil. Meanwhile, chop the courgette and carrots and wash the brokolli.

Add your chopped carrots to the spring onions and coat them in the olive oil. Wait until they are ever so slightly softened before you add the courgette!


Now add two tablespoons of curry paste (I used red curry paste to make the curry really spicy). Add a pinch of ground cinnamon, curry powder and ground cardomon, if you have any at hand. I like to balance the sweetness of the vegetables and coconut milk with the spicy curry paste and the warmth and earthiness of cinnamon and cardamon. Cinnamon makes almost everything better, in my opinion. I would be completely lost without cinnamon. 


Add a 500 ml can of coconut milk to your fried vegetables. To make the sauce slightly thinner, pour in 1 - 2 cups of hot water and mix well with the coconut milk. Now pluck the brokkoli roses from the stem and arrange them in your saucepan. Cover and let the vegetables soften for about 15 - 20 minutes. 


Finally, pop in your halved tomatoes and pour in a cup of frozen peas. Now add a teaspoon of brown sugar and a table spoon of soy sauce to your creation. I made my curry even fruitier and sweeter by adding a mashed banana. 

So that's it! One of my favourite, easy-to-do spring recipes! The vegetables are absolutely interchangable, but this is one of my favourite creations. You can serve the curry with rice of potatoes or eat it with warm nan bread. Just sprinkle some toasted sesame seeds on top and a wonderfully easy, filling and healthy lunch is ready to be devoured! 


I hope your garden is as sunny as mine and you get to enjoy this curry outside! Happy Easter everybody! Watch out for more creative joys coming soon! 

Love, x

Friday, 23 March 2012

I'm sitting here eating mango and coconut ice-cream (wonderful on a sore throat) and thinking of travelling. Just found a brilliant musician on youtube - Ben Howard. I keep listening to his song "Further away" and it gets me dreaming ... about just grabbing a backpack and my old walking boots and taking off somewhere - India, Brazil, New Zealand, somewhere far away. Maybe it also has to do with the fact that I'm re-reading "Eat, Pray, Love" ... or this trailer:


Such a splendidly colourful film, can't wait to see it!

Love, x

Thursday, 22 March 2012

Childhood Love: Marble Cake

This is such a strange kind of season. Spring is on the verge of take-off, with flowers budding and birds darting through the air. The first freckles start to appear on people's faces from the sun and everyone's smile seems so much time. However, there's still the flu that keeps me tied to my bed and also helps me reflect on the past 12 years. Why the last twelve years, you may ask? Well, the last day of school, only a week from writing final exams, feels like a kind of closure. Like being dropped from an airplane and free-falling for those first scary minutes until the parachute pops out. Like a starting point.


Growing up is such a quiet process, it sneaks up on you and pounces when you least expect it to. And then, suddenly, there's the moment when you're sitting in the classroom with the high school people you've known for two years and it hits you: this is the last time. I'm never going back to school again. It feels so strange, having dreamed and fretted about this moment for years. Now it's here and it's almost too much to cope with.

Of course, there's nostalgia. Especially when I see those little first-graders with their huge backpacks and their excited faces and know: they've still got those twelve years ahead of them. And where am I going now? This is the first time in life that there's no paved road ahead to keep walking on. There are some paths to choose from, some steep and some smooth, and some that don't look like paths at all. And some that are still to be made.

So this week, I decided to make a childhood cake as a reminder of all the good times, of all the birthday parties, of playing in the street until nightfall and of the smile this cake always brought to my face. Here comes my favourite cake growing up: Marble Cake.


I made this for my higher level course on the last day of school. This is the most succesful cake I've ever made for a crowd - some people had four slices! Maybe it's because of the simple deliciousness of the cake - but I'm guessing it was the memories associated with the combination of vanilla and chocolate and that delicious crust.

Here's the recipe:
250 g Butter
200g sugar
1 tsp. vanilla
3 eggs
500g plain flour
1 packet baking powder (about 3 tsps.)
125 ml milk

For the dark chocolate third:
1 tbsp. cocoa powder
1 tbsp. sugar
3 tbsp. milk

Step 1: Combine the sugar, softened butter, eggs and vanilla in a bowl.
Step 2: In a second bowl, combine flour and baking powder. Preheat the oven to 180°C.
Step 3: Mix the flour and baking powder into the creamed wet ingredients. Combine.

Step 4:
Now here's where you get to decide how much dark you want in your marble cake. I poured two thirds of the white dough into the cake tin, so there was 1/3 dark chocolate dough. Feel free to switch them around of do it half/half.


This is how you make the dark chocolate dough:
Add the ingredients for the dark chocolate dough (above) to your 1/3 or 2/3 of dough.
Now add this as a top layer in your cake tin.

Step 5:
Using a fork, swirl the dark and the white chocolate dough (be careful not to overmix, or the beautiful pattern will be lost) you can also make a "striped" cake by layering the black and white dough - be creative! You could also add chocolate chips or nuts to the dough!

Step 6: Flatten the dough's surface with a spoon and put it into the oven so the height's even.


The cake needs to bake for about an hour, but check it regularly (mine was done a little earlier, at about 50 minutes). It has the most beautiful crust and looked gorgeous on the inside, too. Let it cook completely before eating. If you let it rest for a night, it's even better in the morning.


Give this cake a slight dusting of icing sugar or some molten chocolate before serving - perfect for parties or last days of school ;) Happy spring everybody!

Love, x
Tuesday, 6 March 2012

Cherry chocolate cake

Three Cs for today's post: Cherry Chocolate Cake. I made this cake today straight after school in the sun-bathed kitchen. You won't believe how unbelievably lovely molten chocolate and cherries look together. And taste. Don't get me started on how they taste together!

To be honest, the original plan was to make chocolate brownies today, but somebody asked me to please include some cherries in the cake, so I thought I'd give it a try. Boy, that was one of the best tips I ever got! The cherries give the cake just the right amount of tanginess to balance the milk chocolate flavour. It gives the whole cake a the spongy taste of spring - very sweet and warming with bits of chocolate and a sprig of cinnamon to match the chilly wind and clear skies outside. But that hint of fruity flavour to give you that feeling of flowers pushing their buds through the earth.

By the way, if you really want to get into spring mood, you should read Frances Hodgson Burnett's "The Secret Garden". It's a beautiful story about the young orphan Mary who is sent to live with her uncle in the English countryside after a childhood spent in India. There, she meets her spoiled and frail cousin Colin and finally comes alive by working in her mother's secret garden. This is really a wonderful book about discovering your inner strength and beauty. That, and it describes the unique beauty of the English countryside in spring. Don't be put off by the fact that it's a classic story because it's such a quick and delightful read!


Ingredients for 24 slices:
3/4 cup oil
1 1/2 cup sugar
3 eggs
1 tsp. vanilla
1 tsp. cinnamon
1 tsp. sea salt
1. tsp. baking soda
225 g chocolate (I used a mixture of milk and dark chocolate)
75 chocolate chips
110g flour
6 tbsp. cocoa powder
500g cherries (from a jar)
3 tbsp. "cherry liquid" (from the jar)
optional: 100g choppe walnuts or almonds


1. Combine the eggs, sugar, oil and vanilla in a bowl and mix well.
2. In a second bowl, combine the flour, baking soda and cocoa powder.
3. Melt the milk or dark chocolate.
4. Sift the flour-and-cocoa-mixture into the wet ingredients.
5. Add the cherries and then the molten chocolate (mix very gently with a spoon until they are just combined - DON'T OVERMIX!)
6. Add the cinnamon and chopped chocolate or chocolate chips.


Pour the mixture into the cake tin and pop it in the oven at 160°C for about 30 minutes. I took mine out at 25 NOTE: It needs to be a bit soft on top, not firm. Then you get a really special texture. The bottom was lovely and really soft, almost like a brownie. Above that, the cake was really spongy, with the chunks of chopped chocolate giving the cake a bit of crunch. Next time I'll be sure to make them with walnuts to add even more texture to this cake.

This cake is a real crowd pleaser and easy to make. Give it a try! 

I really enjoyed the beautiful weather today - spring is definitely on it's way. I cannot wait for summer to come around so everyone can enjoy lazy afternoons by the river and barbecue's in the garden again. 
Finally, a new addition to the box of inspiration: 


And my heart's right here. :)

Love, x

Sunday, 26 February 2012

The beauty of hand-written letters


I found this beautiful picture today and couldn't resist sharing it ... even though baby pink isn't by far my favourite colour, this photograph has a dreamy, inspiring quality to it. It makes me think of long summer walks in the countryside - perfect for a box of inspiration!

Also, it got me to thinking about one of my favourite things in the world: writing letters. I used to be a quick e-mail writer, but when my best friend went abroad for a year, we decided to stay in contact the old-fashioned way (of course, the occasional e-mail or skype session happened, I  won't lie).

There is something beautifully satisfying about writing letters by hand. Taking the time to think out what you're going to write, choosing some beautiful paper, seeing the glistening blue ink on the page. Feeling your hand fly across the page so much more easily than two hands sometimes do over a keyboard. There is such a clarity to letter-writing, to seeing your own handwriting and feeling the thoughts pour through your hand onto the page. It's intensely gratifying.

That last flourish, decorating the page with flowers and doodles and putting in some pictures or little trinkets. It's one of the best things there is.


And the there's another thing the picture made me think of: waiting for a letter to arrive. Sometimes, when you know it's coming, there is an air of anticipation to the wait. But most times, letters and postcards come as a wonderful surprise. Can you remember the last time somebody sent you a long, hand-written letter? Can you remember the shivers of pleasure running down your spine and the smile that seemed plastered to your face? Because letters have become something so special. And precious.

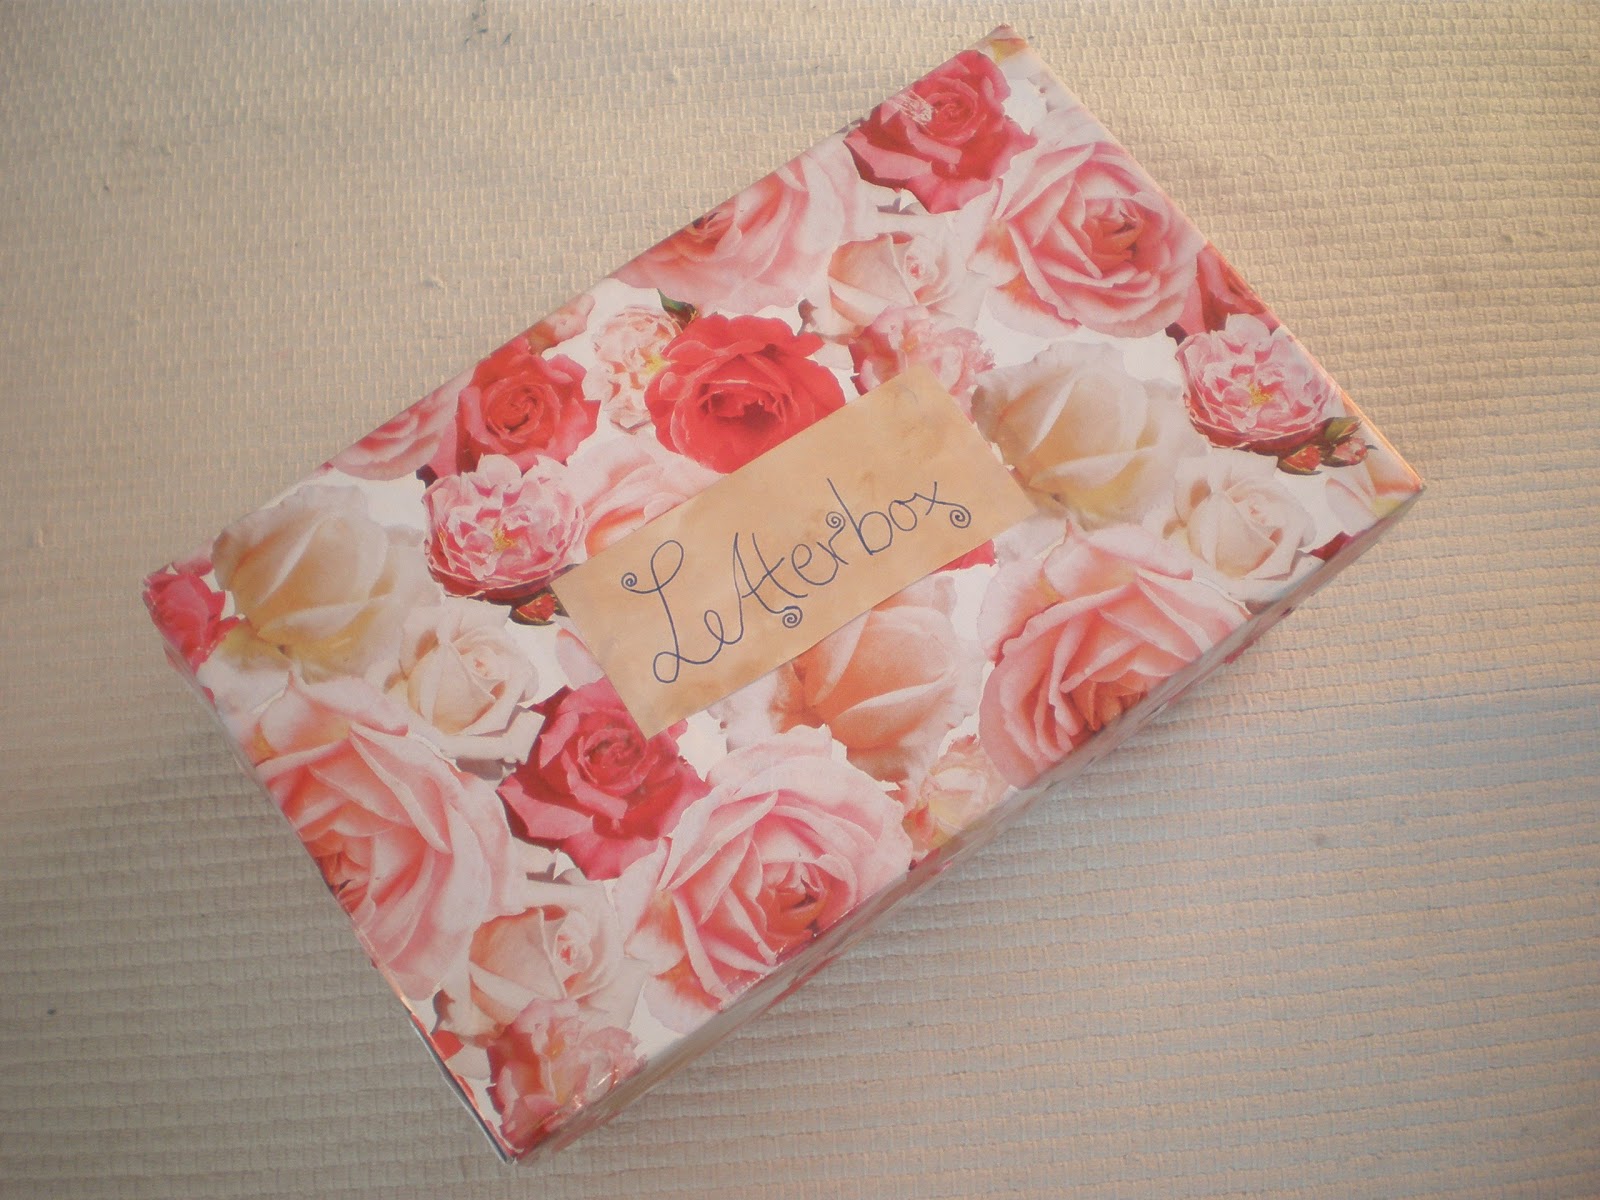
The most beautiful letters I keep in my letterbox. I wrapped it in nice rose-print paper so it reminds me of warm summer days and flowery perfume.


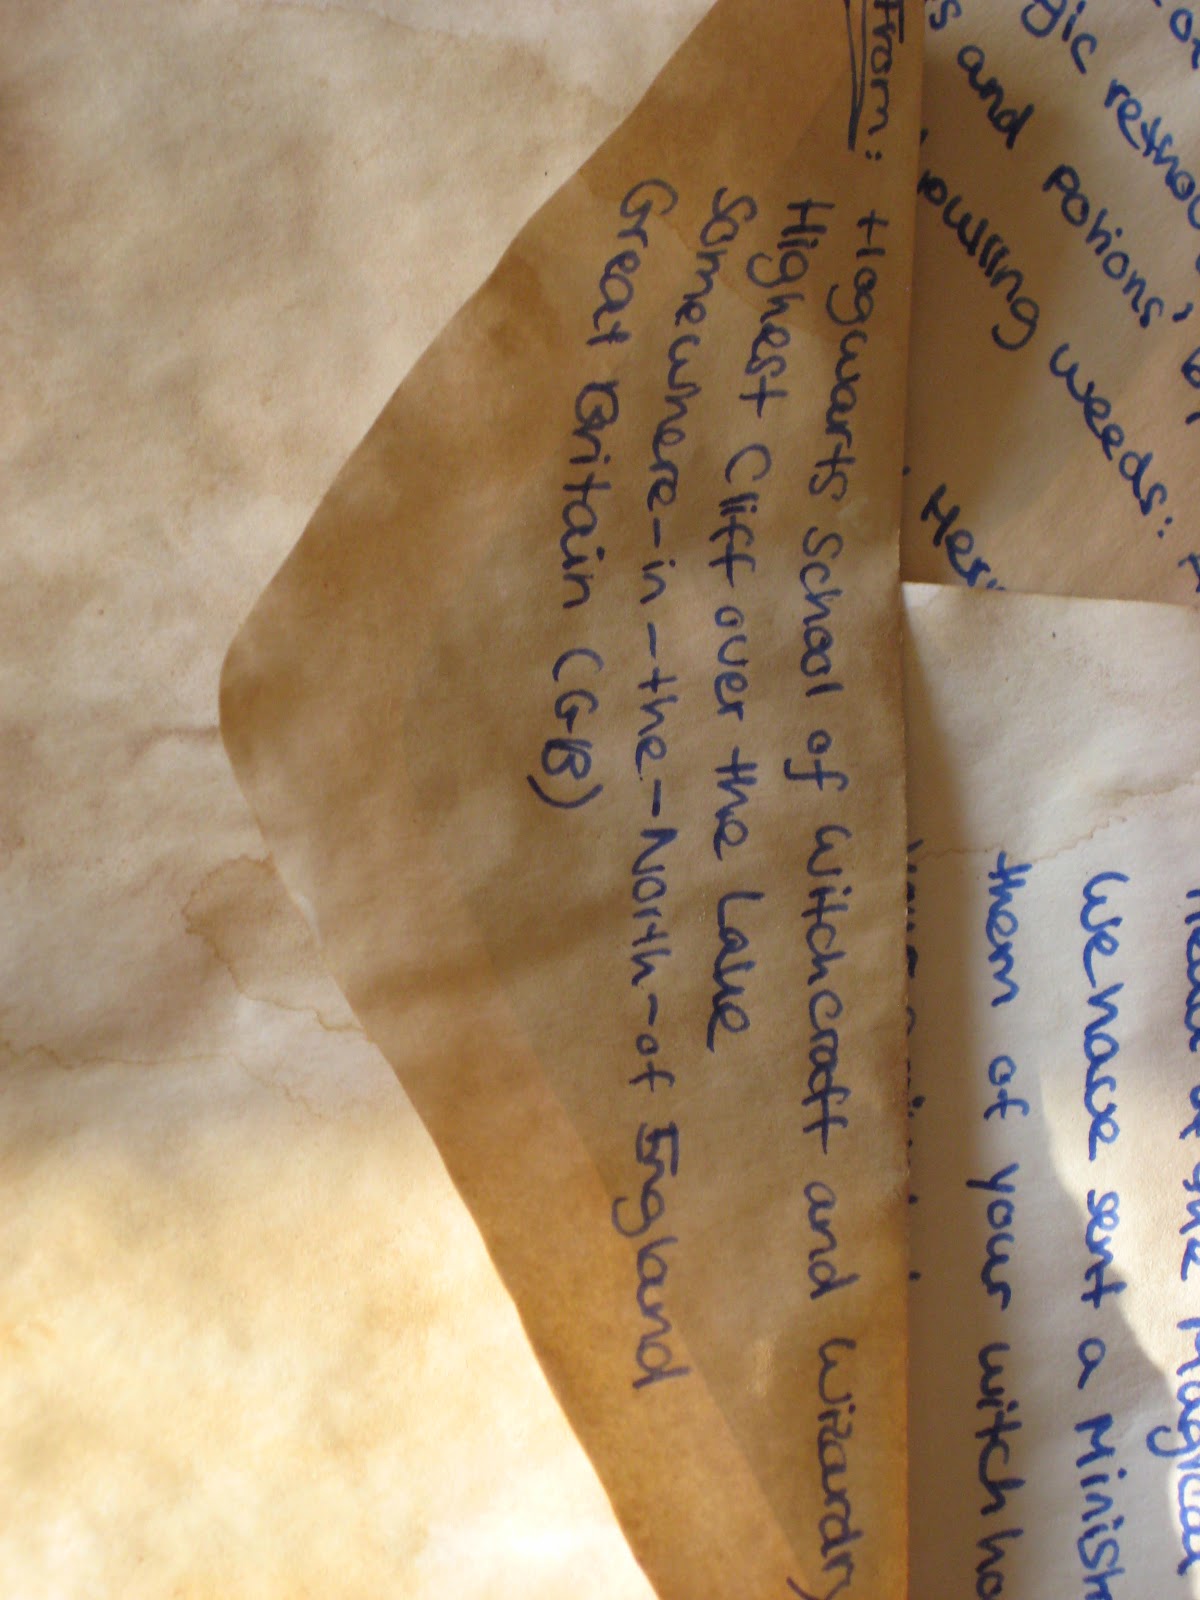
I love writing letters even more than receiving them. Once, I wrote a letter to one of my best friends, who is a huge harry Potter fan (like me, hehe!). So one sunny afternoon, I decided to drop her a few lines in a somewhat unconventional way - I wrote her a Hogwarts letter! It was the best day I had in a long while. Colouring paper, putting together snippets of Harry Potter detail to make the letter seem as realistic as possible. I found wax for a seal, an "H" stamp and I even made a Hogwarts Express ticket, copied from the one in the movies.

I was terrified the letter might be stolen by some hard-core Potter lover, but a few days later my friend called to tell me she had receiced it. It was the best letter she had ever received, she told me, and everyone had been so envious of her. If you have never dreamed of receiving a personal Hogwarts letter, then you are lying! ;) It's every kid's dream.
I'll be honest with you: I almost didn't send it because I wanted it to be my own letter ...


I remember staining the paper brown with tea and coffee and then adding some darker stains with a candle. The worst moment was definitely when I almost burned off half the letter after it caught fire - that's why one corner is missing.


So I advise you: write more letters. It's such a wonderful thing to do and people are always so grateful. As with all things in the creative universe, putting in some hard work often results in the most wonderful craftsmanship!

Enjoy the sunshine, I'm off to write a letter.
Love, x